I love sprouts. I eat them on eggs, sandwiches, salads, you name it. I’ve always wanted to grow my own sprouts from seeds, and finally got the chance to do it this winter! While browsing Etsy one day, I happened upon some sprouting seeds. I immediately knew that I had to give them a try!
I purchased the French Salad Mix, which is a combination of clover, arugula, china rose radish, and fenugreek, from Moonlight Micro Farm, and thus my adventure began!
I did not buy a fancy sprouting kit, but instead opted to create my own with supplies I had on hand. For this project you will need only 4 items, listed below.
Sprouting seeds
1 or 2 quart jar or container
Cheese cloth
A rubber band
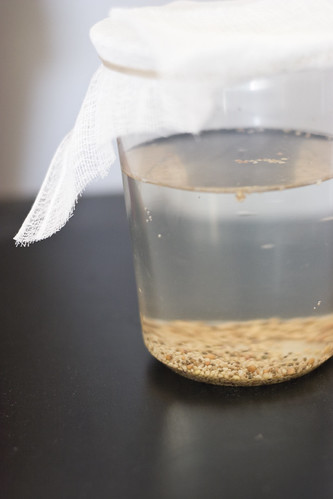
Step 1: One Tablespoon of seeds will completely fill a 1 quart container with sprouts, so I recommend either a 1 or 2 quart container. To start, soak your seeds in water for about 8-10 hours.
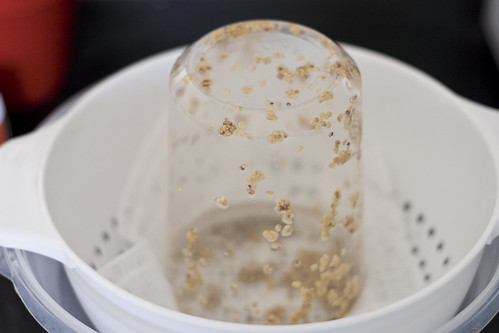
Step 2: After the soaking period is over, rinse your seeds with fresh water, then drain. Do this every 12 hours or so for a few days. I rinse them before work in the morning, and once again before heading to bed. I let them drain upside-down in my fancy colander inside of a plastic bowl.
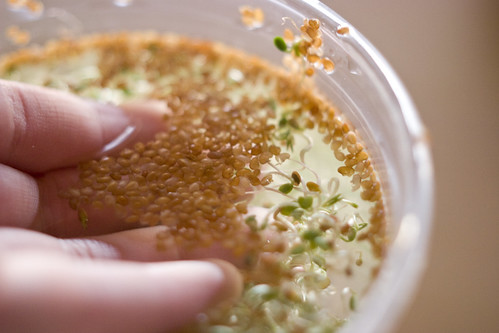
Step 3: The easiest way to de-hull your sprouts is to remove the cheese cloth from the top of your container and just fill it up with water. Push the sprouts down a bit, and the hulls will float to the top, making it easy to remove them.
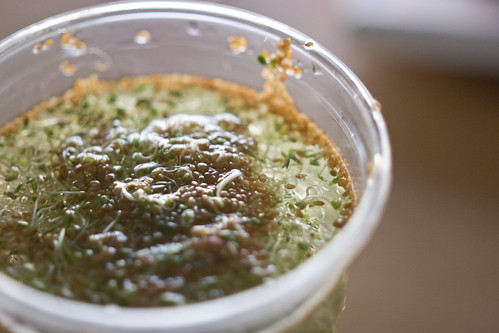
Step 4: Around the same time that you’re de-hulling your sprouts, you should move them to an area with a bit more light. This helps them green up a bit, and boosts their flavor!
*Special Note-around this time, I also like to swap out the cheese cloth for a fresh piece. All of that upside-down draining makes for a bit of a mess after a few days.

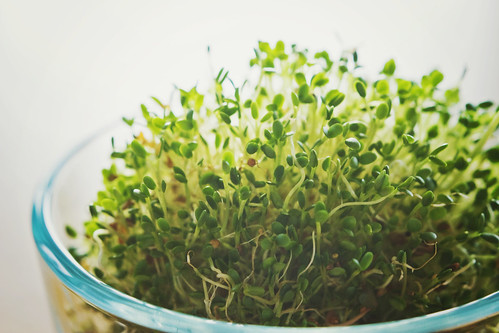
Step 5: Enjoy!! After about 6-7 days your sprouts will be ready to eat! Don’t rinse them before storing in the refrigerator. I like to keep them in a container with a piece of paper towel to discourage moisture build up, which helps them to keep longer! They should last up to a week once you put them in the fridge.
DIY Fridays have officially begun! Have any DIY projects you’ve been curious about? Let me know, and I’ll see if I can throw a guide together!
If you liked this post, you can subscribe to my RSS Feed or get updates via email.
Have questions? Comments? I’d love to hear them!

I need to try this! I’ve always meant to grow sprouts, just never have gotten around to it. After step two do you then fill the container with water again?
Hi Ada 🙂 Step two repeats itself every 12 hours or so, so you’re repeatedly just rinsing the seeds, then letting them drain for 12 hours until it’s time to rinse them again. The whole process involved much less watering that I expected it to.
I have been to Adelaide noticed the beiuatful gardens but have no recollection of the types of flowers I saw. However, their climate is much the same as ours here in NSW, so I suggest you go for lots of natives such as grevillias, banksias, etc. Also roses hydrangeas, agapanthus, any kind of annual or perennial you see in the plant nurseries.Also, take note of what’s growing well in your neighbourhood.