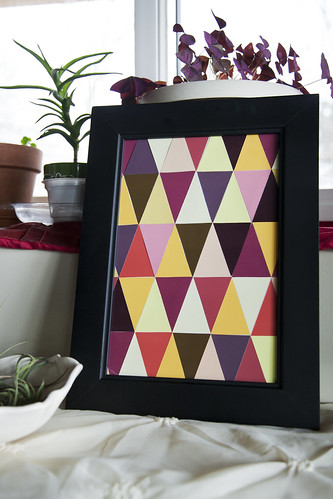
During my many hours spend surfing Pinterest, I came across a link for a great DIY project for creating paint chip art. Which doesn’t sound fancy, but end up looking like a pretty nice piece of framed art when on your walls. And seeing as it was nearly a free project, I had to try it. My results weren’t stellar, but I’m still pretty happy with my final piece of art.
Now just so you know, I’m NOT very artistic. And it also turns out that I don’t have a lot of patience for tedious tasks.
I am, however, a perfectionist, so those little spaces that you can see in between some of the triangles drove me bonkers. But after an hour of working on this, I had lost patience. I chalked it up to a test of my perfectionist tendencies, and decided that I would force myself to be okay with a little imprecision. I secretly saved my extra triangles, and intend on fixing it later.
Anyway, here are the basic steps to having your own almost-free piece of art for your walls:
Step 1: Go to your local home improvement shop and take a bunch of paint samples. If you like to plan ahead, you can check out Design Seeds and find a color palette ahead of time.
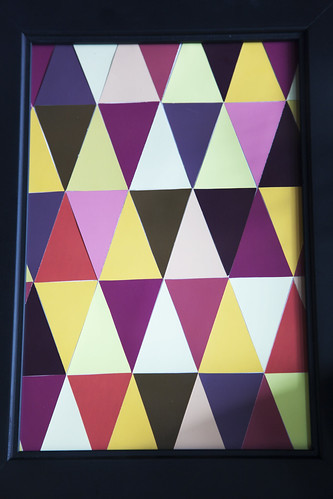
Step 2: Cut your paint chips into equal sized triangles. Carefully. Otherwise you’ll be cursing yourself later.
Step 3: I found that it was best for me to arrange them on the tabletop next to me, as it took me a little while to find an arrangement that I liked.
Step 4: Get your backing, and some sticky stuff. I decided to use some sturdy photo backing board that I had laying around, and I’m glad I did. It kept things very sturdy the entire time I was working, so there were no accidental tears, bent papers, etc. I cut it to the size of my frame ahead of time. I also used some double sided scrapbook tape that I had, which worked really well. Carefully place your triangles onto your piece of paper/board in the pattern you previously made.
Step 5: Trim the overhanging edges of your paint chips, and pop your completed project into a frame for instant fanciness!
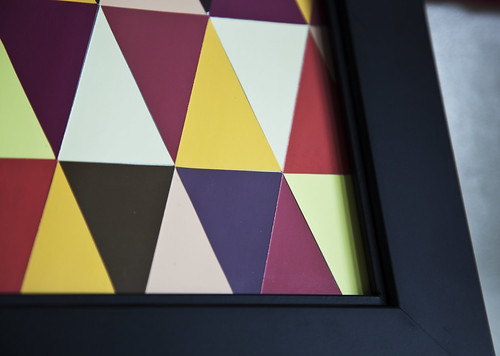
Overall, it really was a simple project. I’ve decided that next time I should definitely have a triangle paper puncher, so as to avoid the annoyance of not being able to fit them together properly. Perfectionism aside, I think it looks pretty darn good!
I think you did a great job. I think it looks wonderful. I became angry scanning Pineterest because almost all of the paint chip patterns had no tutpriaql. I think I might just email the person that takes credit and ask for a ;ittle assistance and express my displeasure. I mean after all if you dont want anyone to use the pattern, then dont post the picture. Have a great day. Kathy